Wednesday, February 29, 2012

My Nature Photography

A sample of some of my nature photography...  I love being outdoors and love taking photos of nature.   All the photos below were taken in the Fall of 2011.
Berries
Flies On A Mushroom

Bee

Sea Gull (Duluth MN)

Snake Eating A Frog

Wild Cucumber


Tuesday, February 28, 2012

Decoupage Suitcase

Here is an old suitcase that was in major need of an upgrade.  It was in such bad shape I didn't know if it was even going to turn out.  First I took all the fabric out from the inside of the suitcase and used painters tape to cover the hardware.  Then I painted the outside with Rust-Oleum Gloss Khaki spray paint.  
Before...


 I took various scrapbook paper and cut them to different sizes and Mod Podged them to the inside of the suitcase.  Then I took green ribbon and attached it to each side with hot glue so the lid would stay open.  It turned out better than I expected. :~)

...After

Monday, February 27, 2012

Birch Wood Crafts

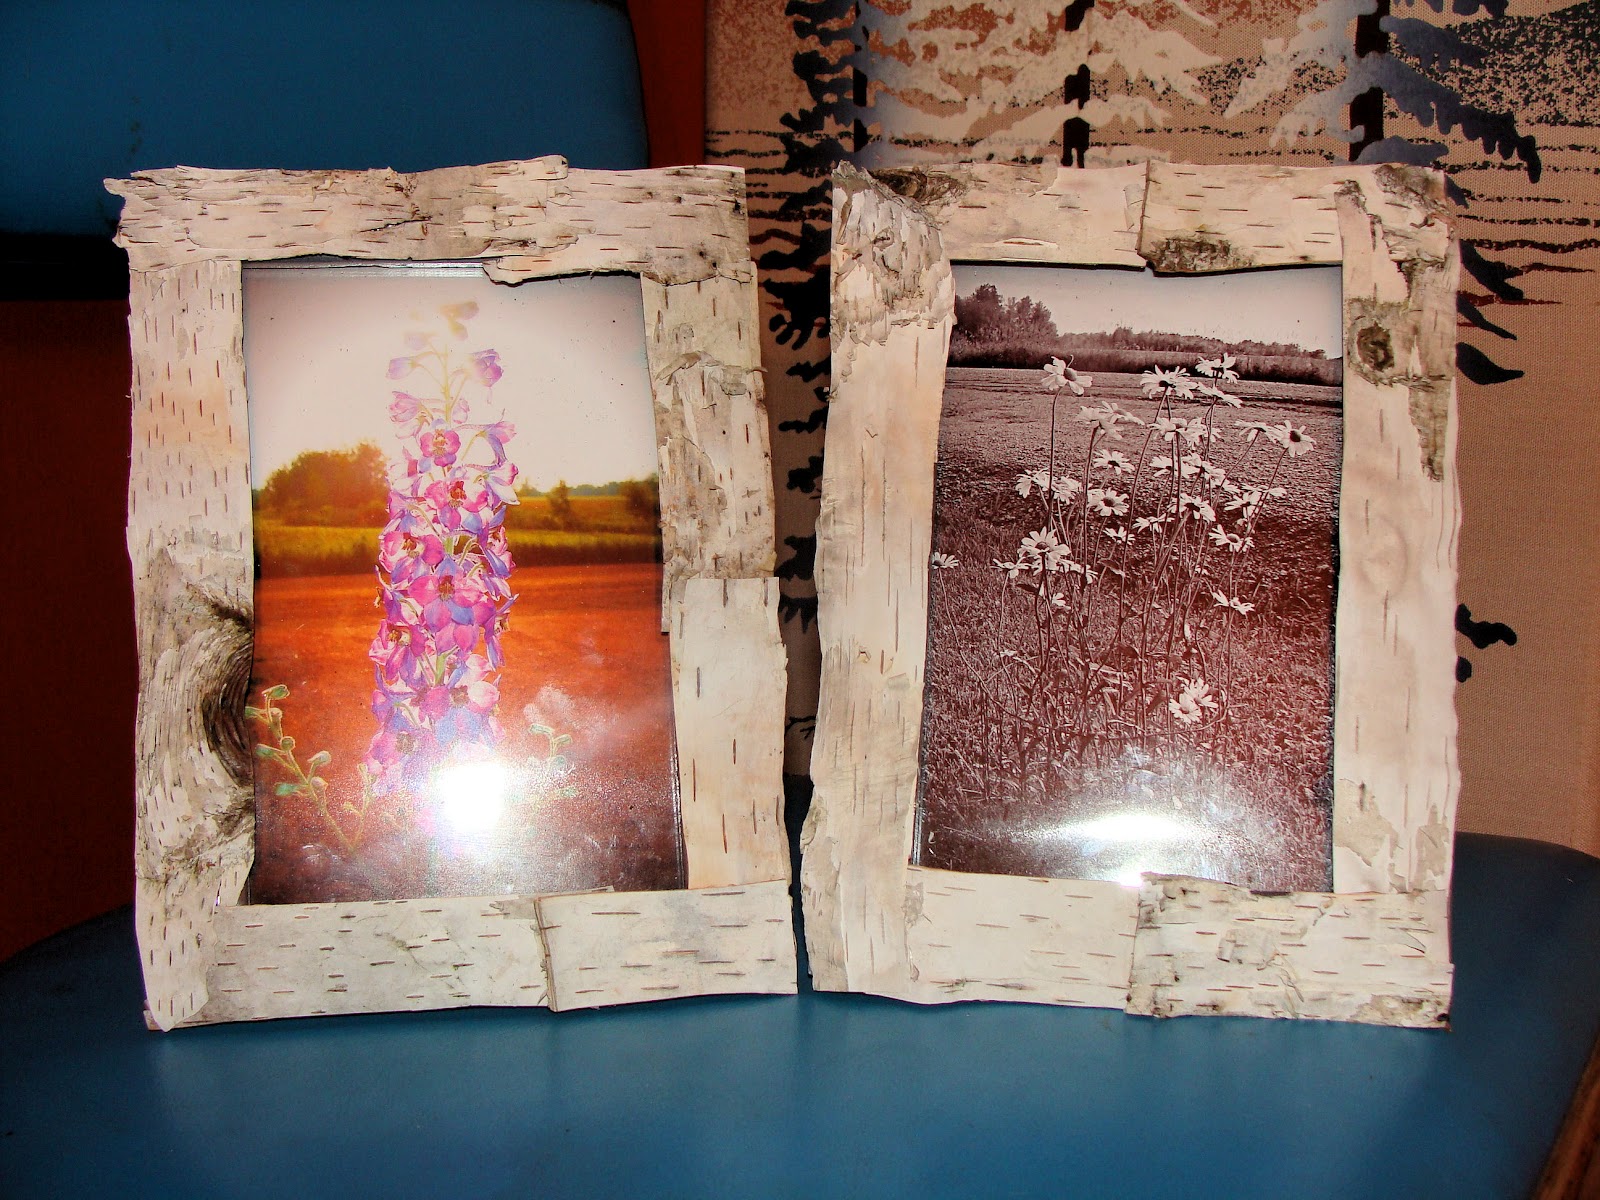
Next to our house we have woods with a lot of Birch trees.  Last summer some loggers came and took most of the larger trees down, it was so sad to see.  They even cut down some of the smaller trees and just left them lay on the ground.   So in the fall, I went out and collected some Birch bark and some of the smaller trees to use for some of my crafts.  The below photo is of two Birch bark photo frames.  First I took some frames I bought at a thrift store then hot glued the birch bark on.  The photos are some of my own that I took of flowers in my yard.  Sorry about the flash :~)
Birch Bark Photo Frames
 These candle holders I made for my table centerpiece during Christmas.  First I cut three different lengths of Birch wood.  Then I used a drill press to make holes in the tops. The tops are also painted white with acrylic craft paint.  And the snowflakes were done with a wood burning tool.
Birch Candle Holders

Sunday, February 26, 2012

Outhouse Sign

  Here is the OUTHOUSE sign I made for my mom's 60th birthday last summer.  The wood is just an old weathered piece I found laying around the yard.  I used acrylic indoor/outdoor paint.  The handle is made out of barbed wire. 
 And below is my parents' outhouse sporting the new outhouse sign...and my son, Camden :~)

 Camden playing in a water puddle.

Camden having fun by Grandpa's tool shed.

Saturday, February 25, 2012

Old Bike Redo and A Heart Shaped Leaf Stamp

This was one of my projects from last summer.  This old bike was just sitting in my back yard for years so I thought I'd spruce it up a bit.  First I cleaned it up a bit with soap and water.  It was pretty dirty from sitting so long.  Then I masked off everything that wasn't red(that was the most time consuming part).  Then I got to spray painting it a baby blue.  The basket I found and a thrift sale and I found some blue and white flowers to match.  It looks pretty in it's new home in the FRONT yard.  I think it turned out great!
Before...

...After
 Here is another stamp I made yesterday.  After I made it I remembered a photo I took last summer of a heart shaped leaf.  Very ironic...
Heart Shaped Leaf Stamp
Heart Shaped Leaf


Friday, February 24, 2012

Driftwood Art


I love working with driftwood.  Here are some of my favorites I made last summer.  All are on driftwood from Lake Superior.  My boyfriend, Bill, is from Superior, WI so we go there often to visit his mother.  We also went to Ashland, WI last summer and collected a bunch of unique driftwood pieces.  We will definately be going back there this summer.  I can't wait!


Painted bluebird rock
Painted bluebird rock on driftwood

Painted snake on a log (both driftwood pieces)

Whale driftwood sign (I made this to hang in my son's room)

Antiques driftwood sign

Thanks for stopping by  ~Heidi~

Thursday, February 23, 2012

How to create your own stamps/ink pad and MY FIRST BLOG!

So this is my first blog(Ever) so please bear with me while I'm just learning how this whole thing works.  My name is Heidi and I love doing crafty things so I thought I would start this blog to show off my craftiness.  So here goes nothing...

For my first post I decided to show you my latest, greatest thing I've been working on for the past week.  I kind of got the idea from Pinterest and other fellow bloggers with a few variations and improvements of my own.   Creating your own stamps and ink pad is so cheap and easy.  No more buying those expensive wood-mounted rubber stamps.  And I didn't even want to attempt carving my own with those sharp tools with the risk of stabbing my hand(and probably passing out).

Here are the supplies you will need for the ink pad...

Paper plate(or other flat surface to put paint on)
Felt sheets
Scissors
Table salt
Acrylic craft paint

First you will take your acrylic craft paint(any color you wish)  and put some on a flat surface and sprinkle a little table salt on it.  The table salt thins out your paint so it's more liquefied.  Cut a piece of felt to cover the pool of paint/salt mixture.  Let the paint soak through and there you have your own homemade ink pad!  When you are done just rinse out the piece of felt and you can re-use it  again and again.  See, I said it was easy :~)

Ok, for the stamps you will need...

Scissors
Toothpick
Foam craft sheets
Blocks of wood(for mounting)
Mod Podge or Tacky Glue

First pick a design for your stamp.  My first stamp was a feather(above photo).  You can print out a template to use or just free-hand it like I did.  Cut out your outline shape from the foam craft sheet.  Then with a toothpick you will make details into the foam.  When you are done you will glue the foam stamp onto a piece of wooden block.  Simple!  The possibilities are endless... 

Have fun stamping!  ~Heidi~